
Whenever we work with databases, we might encounter numerous emails to which we do not wish to or cannot send communications to all the email addresses registered. The marketing teams need to filter and avoid that these specific email addresses receive any Marketing Cloud Marketing Cloud communications.. A best practice in these cases could be to add them to an Auto-Suppression List.
In this article we will try to explain what it consists of, what they are used for, how to create them and manage these Auto-Suppression Lists within the Marketing Cloud tool.
How does an auto-suppression list work?
An Auto-Suppression Lists acts like a “do not contact list”, meaning that this list of email addresses will not be contacted. The email addresses that are usually added to these lists are addresses with a high spam history, addresses that have chosen to be unsubscribed to provider commercial communications or previous advertisers, competitors’ addresses, clients who have cancelled their activity with the brand… In short: all the contacts which we might have and desire to keep in our database but which we cannot or do not want to impact via an email marketing campaign.
We can create Auto-Suppression Lists from the administrator screen in Email Studio. once created, we can add all the addresses which we do not wish to contact with our Salesforce Marketing Cloud tool.
The Auto-Suppression List do not need to be selected by the user within each sending flow, as they filter the contacts to whom we do not want to send communications automatically and at the general level of the whole tool.
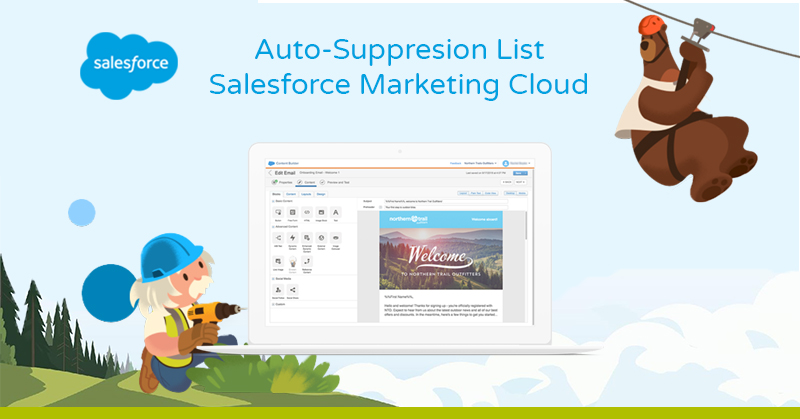
How to create an auto-suppression list
In order to create our own auto-suppression list, we firstly need to access Email Studio and we click “Administrator”. once this has been selected, within “Send Management”, we need to select “Auto suppression configuration” and “Create”.
Once we have created this new list, we will add the name and description of this list in “Properties” and select the desired attributes.
The next step would be to complete the sending profiles in the “Assignment” section. There we will be able to select if we want to filter the addresses via the “sender profile” or “send classification” (“sender profile” refers to the profile of the sender and the “send classification” refers to whether the communication is commercial or transactional).
We can also assign our list to the whole organisation or to specific business units. In this way we can use different lists for each business unit.
All of these properties can be edited ex post via the administrator in Email Studio. One thing to keep in mind is that if we modify an auto-suppression list is that whichever changes we make, these will not be applied to triggered sends which are in a queue. Because of this, in case of wishing to edit an auto-suppression list, the recommended action is to delete the sends in the queue before saving the changes in the list, as subscribers who are in the queue will continue to receive the communication for which they are in the queue even if we include them in the auto-suppression list. Once the list has been updated, we will review and enable the triggers
How to add contacts to an auto-suppression list
Once we have determined a series of parameters, we will save our list and we will add in this list the desired contacts. This last step of adding contacts can be done manually via Email Studio. For this purpose, we will need to fill in the fields “email” and the date in which this is added in the registry. We will also be able to add any other personalized attribute which we wish to add to the list.
In the case of wishing to add various contacts at the same time, it is recommendable to do this automatically using an import activity in Automation Studio to save time and effort.
In conclusion, the Auto-Suppression List have become an almost indispensable tool to properly manage our contacts within Marketing Cloud and automatically delete those email addresses that we do not want to impact with our communications.
Learning to use them and integrating them into all the email marketing processes of our company will save us a lot of headaches and will streamline the tasks of our marketing department.